Installing artificial grass is a multi-step process that requires careful planning and execution to achieve a flawless, long-lasting result. Whether you’re considering artificial grass for your home, business, or recreational area, understanding what to expect from professional installers can help you make informed decisions and ensure a smooth installation process. Here’s an overview of the typical steps involved in professional artificial grass installation.
1. Site Evaluation and Planning
The installation process begins with a thorough site evaluation by the installers. They will assess the area where the fake grass will be installed, taking note of any existing vegetation, obstacles, or drainage issues. This step is crucial as it allows the installers to plan the project and address any potential challenges beforehand. During this phase, they will also discuss your preferences regarding the type of artificial grass, the intended use of the space, and any specific design features you desire.
2. Ground Preparation
Proper ground preparation is the foundation of a successful artificial grass installation. The installers will start by removing any existing grass, weeds, or debris from the area. This may involve using heavy equipment to excavate the top layer of soil, ensuring a clean and stable surface for the installation. After clearing the area, the ground is leveled and compacted to create a smooth, even base. In some cases, a layer of crushed rock or gravel is added to improve drainage and provide additional stability.
3. Installation of a Weed Barrier
To prevent weeds from growing through the artificial grass, a weed barrier is laid over the prepared ground. This is usually a geotextile fabric that allows water to drain through while blocking weeds from penetrating the surface. The weed barrier is an essential step in maintaining the longevity and appearance of your artificial lawn, as it minimizes the need for future maintenance.
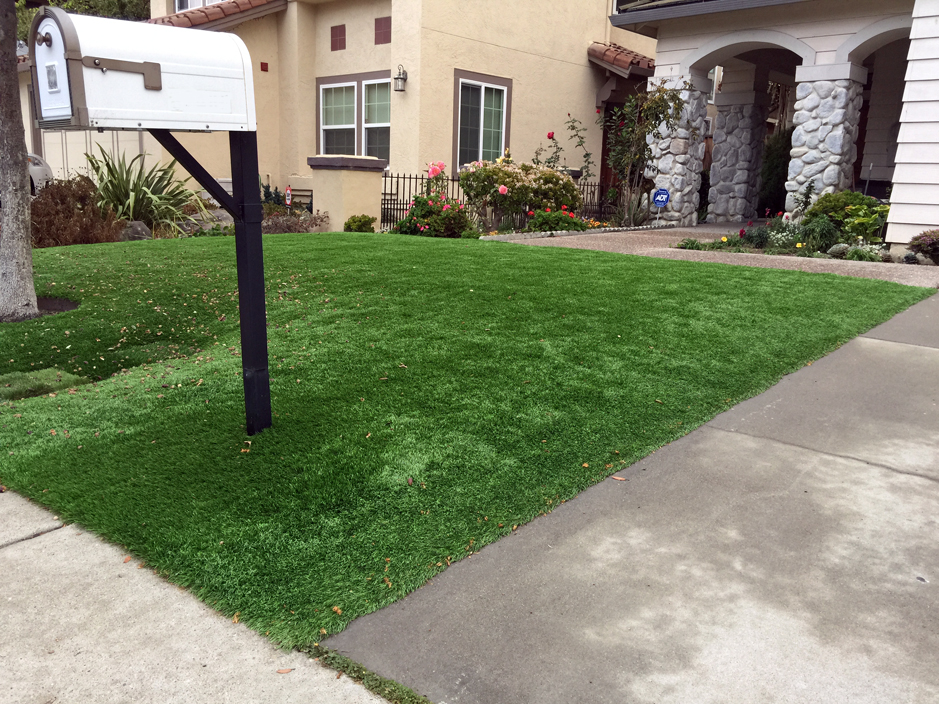
4. Laying and Securing the Artificial Grass
Once the ground is prepared and the weed barrier is in place, the installers will roll out the artificial grass over the area. They will carefully position the grass, ensuring that the blades are aligned correctly for a natural appearance. The grass is then trimmed to fit the contours of the space, and the edges are secured using stakes, nails, or adhesive. Professional installers take care to minimize visible seams by joining sections of grass with specialized seam tape and adhesive, creating a seamless and realistic look.
5. Infill Application and Brushing
After the grass is laid and secured, infill material is applied to the surface. Infill, typically made of sand, rubber, or a combination of both, helps to weigh down the grass, keep the blades upright, and improve the overall durability and feel of the lawn. The installers will evenly distribute the infill across the entire area, using a power brush or rake to work it into the grass fibers. This step not only enhances the stability of the grass but also gives it a more natural look and feel.
6. Final Inspection and Clean-Up
The final step in the installation process is a thorough inspection of the completed work. The installers will check the entire area to ensure that the grass is properly secured, the seams are invisible, and the surface is even. Any necessary adjustments are made at this stage to perfect the installation. Once satisfied with the result, the installers will clean up the site, removing any debris or leftover materials, leaving you with a pristine artificial lawn ready for use.
In conclusion, professional artificial grass installation involves several critical steps that ensure a high-quality, durable, and aesthetically pleasing result. From site evaluation to the final inspection, each stage of the process is handled with precision and care, allowing you to enjoy the benefits of artificial grass with confidence.